Settings
The Settings page provides comprehensive control over the Excellent Data Filler extension's behavior, allowing you to customize its functionality according to your specific needs and preferences.
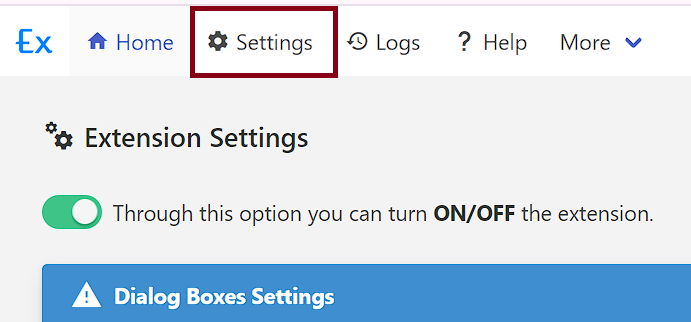
🔧 Extension Settings
Core extension controls that determine the overall behavior and functionality of the extension.
🔄 Extension Status
Control the main power state of the extension with this essential setting.
Functionality:
- Turn ON/OFF: Enable or disable the entire extension
- Keyboard Shortcut: Use
ALT + Qto quickly toggle extension status - Visual Feedback: Icon changes color based on status (colored = ON, grayed = OFF)
How to Use:
- Click the extension icon in your browser toolbar
- Toggle the "Extension is ON" switch
- Extension status changes immediately
- All automation features respect this setting
INFO
Change Shortcuts Key in Chrome - chrome://extensions/shortcuts
💬 Dialog Boxes
Configure how the extension handles browser dialogs and alerts to ensure smooth automation without interruptions.
Supported Dialog Types:
- Alert Dialog: Simple alert messages
- Confirm Dialog: Yes/No confirmation prompts
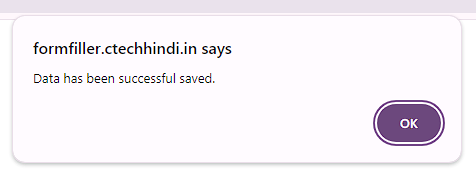
🚨 Alert Dialog Handling
Automatically handle alert messages during form filling.
Look like this:
Settings:
- Toggle Switch: Turn Alert Dialog Handling ON/OFF
- Site URL Input: Enter website URL to hide alert dialogs
How to Use:
- Toggle the switch to ON
- Enter the website URL in the input field and press
enter - Extension will automatically dismiss alert dialogs on the specified site
Note
If when you fill entry, your entry complete has been detected by the alert message, then you can turn on this option as well as give the URL of the site.
Note
Press enter to save the website URL
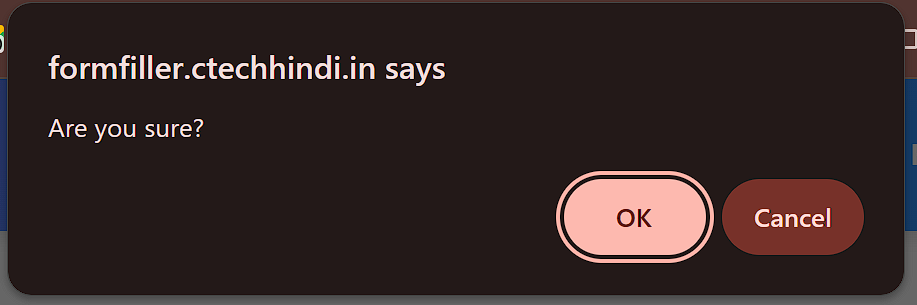
✅ Confirm Dialog Handling
Automatically respond to confirmation dialogs.
Look like this:
Settings:
- Toggle Switch: Turn Confirm Dialog Handling ON/OFF
- Site URL Input: Enter website URL for confirm dialog handling
- Message Text Input: (Optional) Enter specific confirm dialog message text
How to Use:
- Toggle the switch to ON
- Enter the website URL in the input field and press
enter - (Optional) Enter specific confirm dialog message text
- Extension will automatically handle confirm dialogs on the specified site
Important Note
If you do not give the message of Confirm Dialog then the extension will ok all the confirm dialogs of the site.
Note
If when you fill entry, your entry complete has been detected by the confirm message, then you can turn on this option as well as give the URL of the site.
➕ Insert Site/Form
Configure how the extension detects, processes, and handles form elements on websites for optimal automation performance.
🔍 Form Detection
Configure form element detection and processing.
| Field Options | Description | Example Values |
|---|---|---|
| Form Element Label Position | Position value for form element labels | 1, 2, 3, .. |
| Ignore HTML Element Tag | HTML elements to ignore during form detection | div, span, script |
| Ignore Input Tag Type | Input types to ignore during automation | hidden, reset, button |
| Generate Selector Query Method | Method for generating element selectors | Unique Path Full Path (CSS) Full Path (DIV) XPath |
⚙️ Advanced Options
Fine-tune form detection behavior with advanced configuration options.
| Option | Description |
|---|---|
| Fetch all the form fields of the site | Detect fields both inside and outside forms |
| Check External Library in the Page | Check for external libraries on the page |
| Fetch only visible forms | Detect only visible forms for better performance |
| Fetch only visible form fields | Detect only visible form fields |
| Allow Right Click on Site | Enable right-click functionality on the site |
| FORCE: Allow Right Click on Site | Force enable right-click functionality |
Note
If some fields in your site are inside the form and some fields are outside the form, then use the "Fetch all the form fields of the site" option.
🧹 Field Name Cleaning
Clean and format field names automatically for better organization and readability.
| Field Options | Description | Example Values |
|---|---|---|
| Is Clean Field Name | Toggle to remove repeated words from field names | ON |
| Remove String From Field Name | Strings to remove from field names | ctl00$ContentPlaceHolder1$, ctl00$OnlineContent$ |
| Remove String From Field Prefix | Prefix strings to remove from field names | aspnetForm$, form1$ |
Example:
- Original:
ctl00$ContentPlaceHolder1$txtName - After Cleaning:
txtName
📃 Form Filler
Configure visual feedback, performance settings, and form filling behavior for optimal user experience.
👁️ Visual Feedback
Configure visual indicators during form filling.
| Option | Description |
|---|---|
| Show Response Color in Field | Display response color in fields while filling forms |
| Show Entry's Status Bar | Display status bar showing entry progress |
| Show Extension Logs in Status Bar | Display latest extension logs in the status bar |
Look like this: Status Bar

INFO
If click Mark as Saved button on the status bar then execute {MARK AS SAVED} segment. If segment exists then execute.
📊 Show Entry's Status Bar
Description: Display a status bar at the top or bottom of the page showing entry progress and navigation controls.
Purpose: The status bar provides real-time information about the current automation entry and allows quick navigation between entries.
Features:
| Feature | Description |
|---|---|
| Current Entry Row Index | Shows the current entry row number being processed |
| Total Entries | Displays the total number of entries in the Excel sheet |
| Fill Next Entry | Button to navigate to and fill the next entry |
| Fill Previous Entry | Button to navigate to and fill the previous entry |
| Mark as Saved | Button to mark the current entry as saved (executes {MARK AS SAVED} segment if exists) |
| Extension Logs | Displays latest extension logs (when enabled) |
Display Format:
Entry: [Current Row] / [Total Entries] [◀ Previous] [Next ▶] [Mark as Saved]Example:
Entry: 5 / 100 [◀ Previous] [Next ▶] [Mark as Saved]How to Use:
- Enable "Show Entry's Status Bar" option in settings
- Status bar appears at configured position (Top or Bottom)
- View current entry progress during automation
- Click navigation buttons to move between entries
- Click "Mark as Saved" to execute save segment
Navigation Controls:
- ◀ Previous: Navigate to and fill the previous entry row
- Next ▶: Navigate to and fill the next entry row
- Mark as Saved: Execute the
{MARK AS SAVED}segment (if defined in form)
Benefits:
- Track Progress: See which entry is currently being processed
- Quick Navigation: Move between entries without opening Excel
- Manual Control: Override automatic entry progression
- Save Tracking: Mark entries as completed/saved
- Visual Feedback: Monitor automation status in real-time
Related Settings:
- Status Bar Position: Configure whether status bar appears at Top or Bottom
- Show Extension Logs in Status Bar: Display logs alongside entry information
Entry Navigation
Use the Previous/Next buttons to manually navigate between entries during automation. This is useful for testing specific entries or handling errors.
📊 Show Extension Logs in Status Bar
Description: When enabled, the latest extension logs will be displayed in the status bar at the bottom of the page.
Requirements:
- Show Entry's Status Bar must be enabled
- Status bar must be visible on the page
How to Use:
- Enable "Show Entry's Status Bar" option
- Enable "Show Extension Logs in Status Bar" option
- Status bar will display latest extension logs during automation
- Logs update in real-time as operations occur
Related: Logs Monitor
TIP
Use this feature during development and testing to monitor automation without switching between tabs or opening the browser console.
⚡ Performance Settings
Configure filling speed and monitoring behavior.
| Field Options | Description | Example Values |
|---|---|---|
| Status Bar Position | Position of the status bar on the page | Bottom Top |
| Types of URL Monitoring | Method for monitoring URL changes | - When the page is not reloaded when the URL changes. - When the page is not reloaded when the URL changes. (ASYNC METHOD) - When the page is reloaded when the URL changes. |
| Types of Form Filling Speed | Speed of form filling operations | Fast (no delay) Medium (0.3s delay) Slow (2s delay) Random (min, max) |
🎲 Random Speed Settings
Configure random delay parameters when "Random (min, max)" is selected.
| Field Options | Description | Example Values |
|---|---|---|
| Minimum Milliseconds | Minimum delay time in milliseconds | 100, 500, 1000 |
| Maximum Milliseconds | Maximum delay time in milliseconds | 2000, 3000, 5000 |
Note
These settings only appear when "Random (min, max)" is selected for Form Filling Speed.
🌐 Web Request Monitoring
Monitor specific URL patterns for web requests.
| Field Options | Description | Example Values |
|---|---|---|
| URL Patterns | List of URL patterns to monitor | https://*/* *://mail.google.com/* *://example.com/* |
How to Use:
- Enter URL patterns in the input field
- Press
Enterto add each pattern - Patterns will be displayed as tags
- Use wildcards (
*) for flexible matching
Note
if use Web Request Completed field type, then you have to use the URL patterns in the Request URL field.
⚙️ Environment Settings
Configure environment settings for the extension.
| Field Options | Description | Example Values |
|---|---|---|
| Environment Variables | JSON configuration for environment settings | {"title": "EDF", "version": "4.0"} |
How to Use
Use in the field options value or field value with {$variable_name$}. Like this:
{$title$}🔐 Captcha Solution
Configure Captcha Solution API Keys for the extension to automatically solve captchas during automation.
🔑 API Configuration
Set up your captcha solving service API credentials.
| Field Options | Description | Example Values |
|---|---|---|
| Use Captcha Solution Service API | Enable/disable captcha solving service | Toggle ON/OFF |
| Service Name | Captcha solving service provider | 2Captcha |
| API Key | Your captcha service API key | a1b2c3d4e5f6g7h8i9j0k1l2m3n4o5p6 |
⚙️ Service Options
Configure additional captcha solving options.
| Option | Description |
|---|---|
| Solve Cloudflare Challenge Page with 2Captcha | Automatically solve Cloudflare Turnstile captcha |
How to Use:
- Toggle "Use Captcha Solution Service API" to ON
- Select Service Name:
2Captcha - Enter your API Key from your 2Captcha account
- (Optional) Enable "Solve Cloudflare Challenge Page with 2Captcha" for Cloudflare Turnstile support
- API key will be used globally across all sites
Get API Key
Sign up at 2Captcha to get your API key. You can find it in your account dashboard after signing up.
Priority
API keys can be configured at three levels:
- Global Settings (this page) - Applies to all sites
- Site Settings - Applies to specific site
- Field Settings - Applies to specific field
Priority Order: Field Settings > Site Settings > Global Settings
📚 Related Documentation
📄 Microsoft Form
Configure Microsoft Forms integration and field selector customization for optimal compatibility.
| Field Options | Description | Example Values |
|---|---|---|
| Import Settings | Import Microsoft Form configuration | JSON configuration file |
| Export Settings | Export current Microsoft Form settings | Downloadable settings file |
| Custom Selector Query | Override default field selectors when they don't work | input[name="fieldName"], #customField |
How to Use:
- Import Settings: Upload a previously exported Microsoft Form configuration
- Export Settings: Download current settings for backup or sharing
- Custom Selector Query: Enter custom CSS selectors for problematic fields
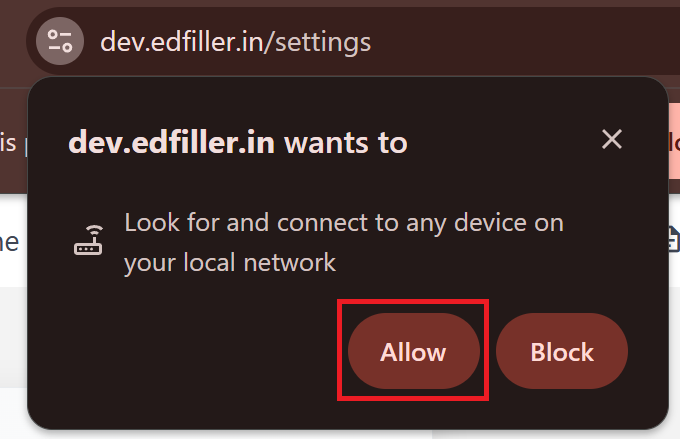
🏢 Extension Server
Configure the connection to your local server to enable advanced automation features, such as email operations and local data processing. See Local Server for more details.
Server Details
Manage your local server authentication and monitor connection health.
| Option | Description |
|---|---|
| X-API-Token | Enter the API token provided by your local server. You can generate this at http://127.0.0.10:8080/settings/api. |
| Check Server Status | Click this button to verify if the extension can communicate with your local server. |
| Remove server connection | Click this to clear the API token and disconnect from the local server. |
Connection Status: The settings page displays "Server is Connected: Yes/No" in real-time to indicate the current status of the link between the extension and your local server.
Response Details: When you check the server status, a detailed JSON response from the server is displayed, allowing you to verify the server's health and uptime.
📤 Export/Import
Manage data backup, restoration, and site management operations.
📥 Import Operations
| Operation | Description | File Format |
|---|---|---|
| Import Data | Import previously exported site data and configurations | JSON |
📤 Export Operations
| Operation | Description | Includes |
|---|---|---|
| Backup All Sites | Export all active sites and their configurations | Forms, fields, settings |
| Backup Archived Sites | Export only archived/inactive sites | Archived forms and configurations |
Note
Export option don't include excel data.
🗑️ Delete Operations
| Operation | Description | Impact |
|---|---|---|
| Delete All Sites | Permanently remove all sites and their data | ⚠️ Irreversible - All data will be lost |
| Delete Archived Sites | Permanently remove only archived sites | ⚠️ Irreversible - Archived data will be lost |
Important
- Backup before deleting: Always create a backup before performing delete operations
- Irreversible action: Deleted data cannot be recovered
- Archive instead of delete: Consider archiving sites instead of deleting them