Structure
Understanding the architecture of Excellent Data Filler is essential for building robust automation workflows. The extension follows a modular, hierarchical structure that allows you to manage everything from simple single-page forms to complex multi-step enterprise workflows.
Overview
Excellent Data Filler organizes your automation workspace into a clear hierarchical tree:


Site Container
The top-level container encapsulating all configuration rules, automation forms, segments, data mappings, and credentials for a target web domain.
Core Components
Site
A Site is the top-level container that represents a target website or web application where you want to automate tasks.
Key Characteristics:
- Container for Forms & Segments: Groups multiple related forms and on-demand workflows under a common domain.
- Site-Wide Settings: Configure 10 granular execution toggles, delays, and behavior rules that apply to all forms within the site.
- Environment Variables: Define site-scoped variables (
{$variable_name$}) that dynamically inject values into field selectors or URLs. - Data Source Management: Manages uploaded
.xlsxspreadsheet rows and Google Sheets synchronization.

For complete site setup instructions, see the Site Overview and Site Settings guides.
Site Form (Pages)
A Site Form represents a specific web page or form within a site. Each form defines URL matching rules and initiates automated data filling upon page load.
Key Characteristics:
- URL-Based Activation: Target pages using Full URL, URL pathname, URL hostname, or RegEx matching.
- Automatic Trigger: Executes automatically on page load or refresh when the page URL matches and the extension is ON.
- Execution Timing: Configurable delay pauses before starting form execution and after completing form fields.
- Multi-Form Workflows: Chain multiple forms under one site using the site ID to automate multi-page wizards.

For configuration details, see the Site Form Guide.
Segments
A Segment is an independent, reusable collection of fields. Unlike Site Forms, segments do not trigger automatically on page load.
Key Characteristics:
- On-Demand Execution: Triggered explicitly by unique name through Field Response Actions, Loop iterations, or the floating Status Bar (
{MARK AS SAVED}). - Cross-Page Reusability: Call the same segment from multiple forms or execute segments across modal popups.
- Tab Targeting ("View Field Element in Tab"): Configure target page URLs to inspect and test field selectors directly in open tabs.
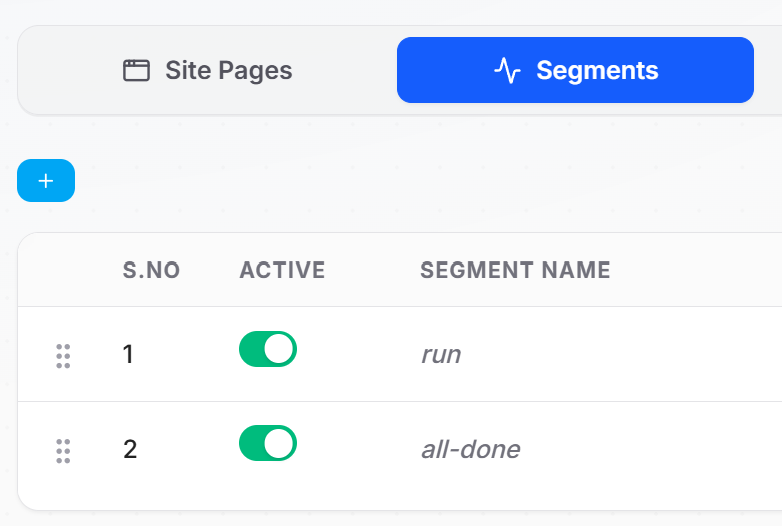
For step-by-step instructions, see the Segment Documentation.
Site Form Fields
Form Fields are the individual input and action elements targeted within a Form Page or Segment.
Key Characteristics:
- Flexible Locators: Locate elements using CSS Selectors, element IDs, XPath queries, or native JS Paths (
$.document...). - 50+ Specialized Field Handlers: Support for Text, Select, Checkboxes, File Uploads, Date Pickers, Loops, JavaScript code, and Scraper extraction.
- Data Source Priority: Seamlessly populates from Excel (
.xlsx) columns, with automatic fallback to configured default values. - Response Logic: Attach success, error, or skip response actions to handle dynamic page feedback.
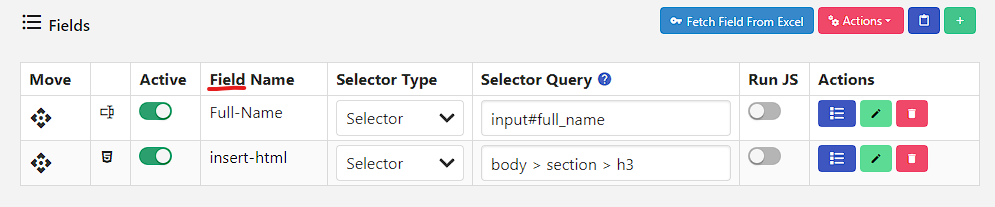
For complete field settings, see Form Field Setup and the Field Types Catalog.
Excel Template & Data Management
Spreadsheets provide structured batch data feeds for multi-entry automation.
Spreadsheet Compatibility
Exclusively .xlsx files are supported for spreadsheet uploads. You can also connect directly to Google Sheets via OAuth2 or Service Account credentials.
Download Excel Template
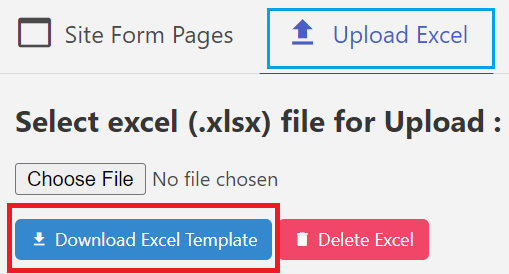
Once you have configured fields in your form, the extension can generate a tailored .xlsx template containing column headers corresponding exactly to your field names:
Upload Excel Template
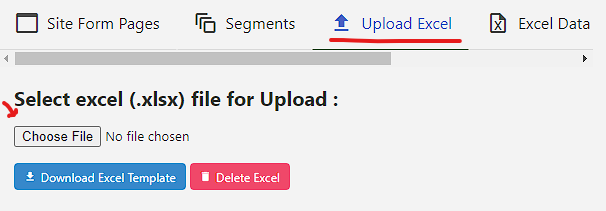
Upload your populated .xlsx file into the site configuration. The extension processes rows sequentially, advancing row by row upon each successful form submission:
For detailed spreadsheet guidelines, see Excel Template Management.
Automation Workflow Lifecycle
A complete automation project typically progresses through this lifecycle:
- Site Registration: Create a top-level site record for the target web application.
- Form / Segment Setup: Define target page URLs, matching patterns, and timing delays.
- Field Mapping: Inspect DOM elements (Alt + Shift + I) and configure selectors.
- Template Preparation: Download the matching
.xlsxtemplate and populate batch data rows. - Automation Execution: Navigate to the form and run automation (Alt + Q).
- Response & Status Tracking: Monitor execution row progress via the Status Bar and review diagnostics in the Logs.
Next Steps
- How to insert a site — Register your first site configuration
- How to insert a site form — Add form pages and URL matching rules
- How to use segments — Build on-demand, reusable field routines
- How to configure form fields — Map selectors, types, and values
- Excel Template Integration — Master batch data handling
Troubleshooting & Verification
- Form Not Triggering: Verify the URL Match Type and ensure the extension toggle is ON (Alt + Q).
- Element Not Found: Use the Inspect Elements tool (Alt + Shift + I) or refer to Locate Element.
- Template Errors: Ensure you are uploading a valid
.xlsxfile matching your field names. - Execution Diagnostics: Open the built-in Logs Viewer to inspect real-time action steps and errors.